
DIY Watercolour Sketchbook: Turning Inferior Supplies Into Creative Opportunities
As my journey into the world of watercolours continues, new yearnings and inner calls seem to be bubbling up frequently, one of which is to experiment more with different styles of painting and to map out the process of a new piece.
Sketchbooks are traditionally used for this purpose, as we can let ourselves be creative without the pressures of producing “masterpieces”. They can also be a learning tool and give insight into how our creative paths are evolving over time.
Furthermore, I recently wrote about my frustrations with poor-quality watercolour paper. Some of the cheaper ones don’t lend themselves well to applying too many layers of paint or water on the surface.
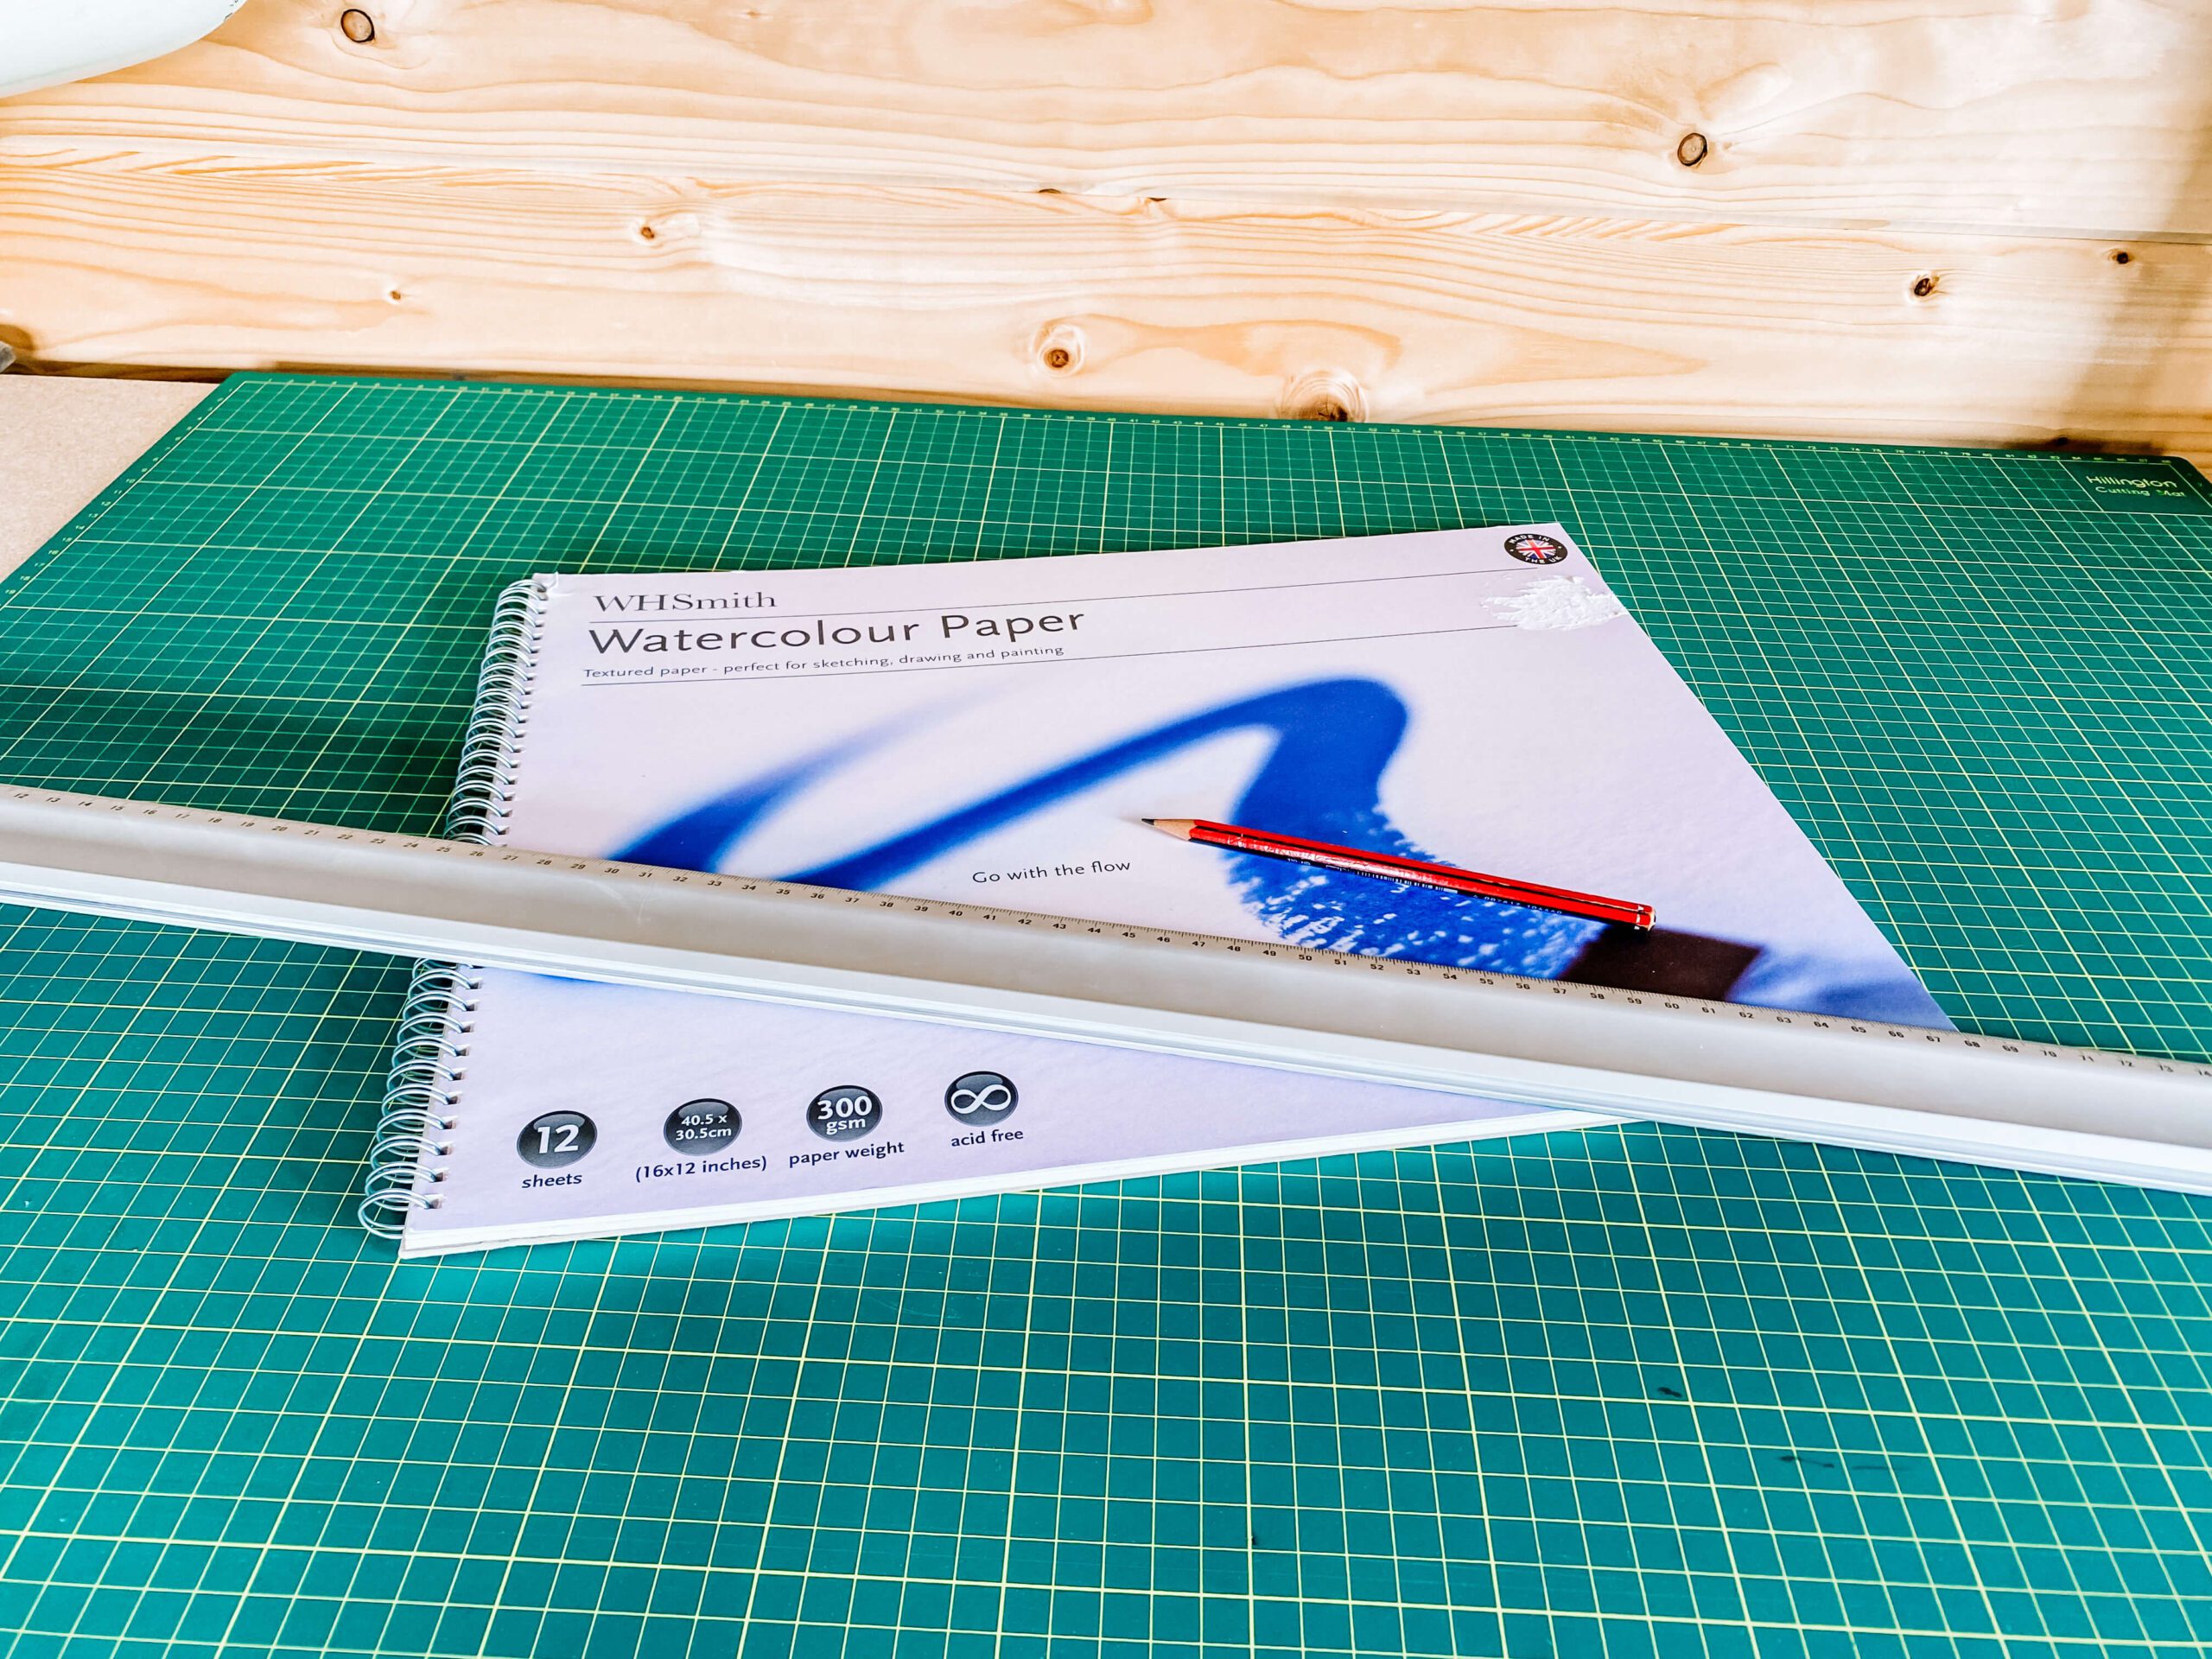
Over the last few months, I have accumulated quite a number of sheets of watercolour paper that were effectively gathering dust.
Then a few days ago, I decided to make my own colour charts, but I found these A3 pads I had in my collection rather cumbersome and too bulky for a quick flick-through should I want to refer to them.
Smaller sketchbooks are ideal for this purpose, of course, alas, I had nothing suitable to hand.
Researching DIY sketchbook options
So I had the epiphany to make my own sketchbook using just items I had at home.
A project that would be doable in a fairly short time without triggering my perfectionistic leanings.
It took some time before I got around to doing it. I looked at some ideas on Google and YouTube to see what options there were. I thought I might need to sew it or glue it together, but I came across a simpler way of using staples.
This was ideal because I didn’t want to spend too long on this project, and I knew if I had to reach for my sewing box, a few minutes could quickly turn into hours.
Since one of the pads I had, in my opinion, was the worst quality, I didn’t mind if it got messed up during my experiment, so I started with that.
In this particular tutorial, the sketchbook was covered with fancy scrapbook paper, but I just improvised and used the cover of the original pads.
This is the video where I learned how to put together a sketchbook:
Making the sketchbook
Now the fun part, building the sketchbook!
To make the sketchbook, I used just three sheets of paper, then halved them lengthwise for landscape orientation.

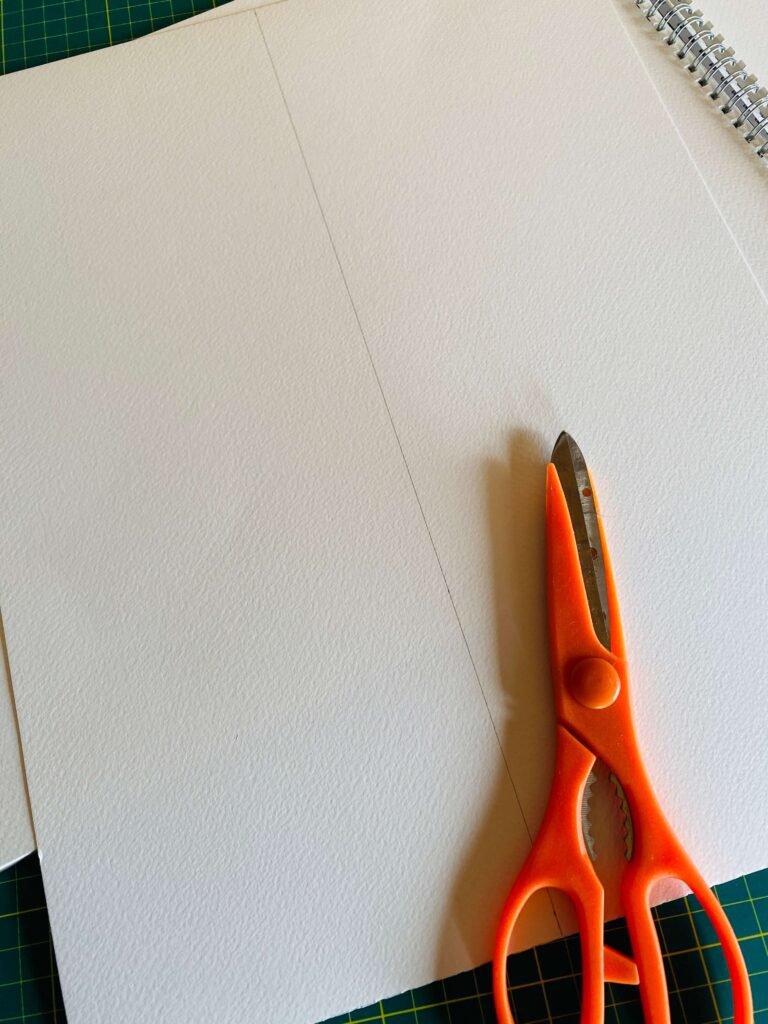
Then I folded each piece down the middle and reinforced the fold with the handle of a pair of scissors. I also cut half of the front cover from the pad and put the sheets together.

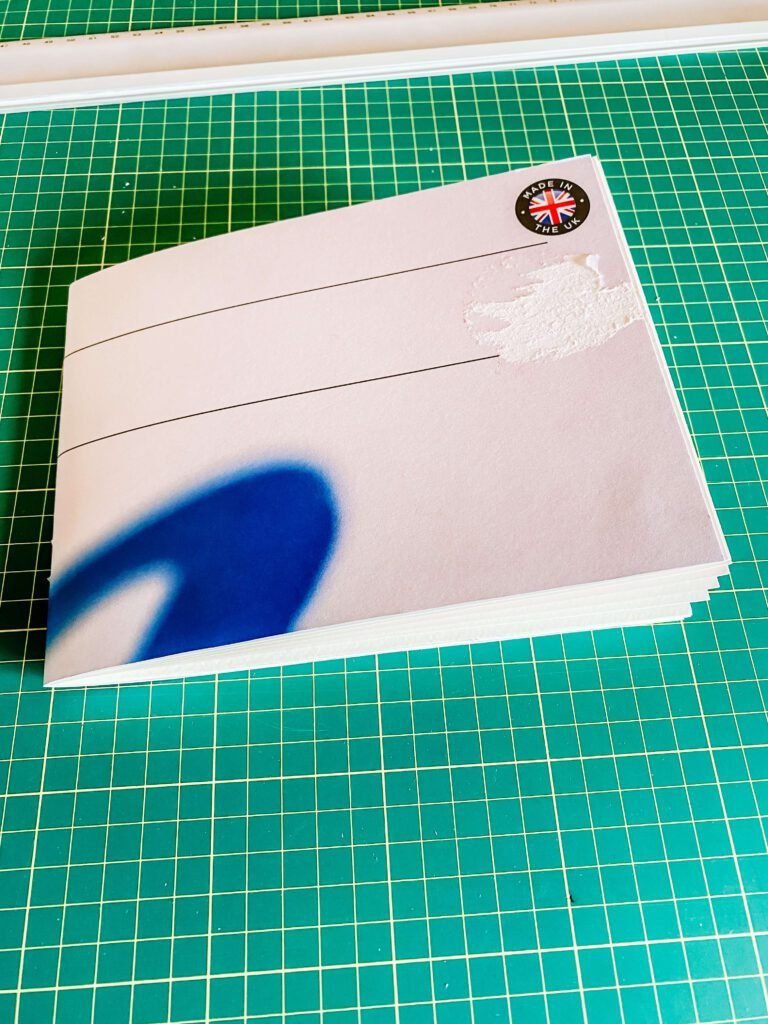
The hardest part was putting the staples through it, as it had to be done without using the stapler, making sure I attached them to the right place. I measured out the location of the staples, then pushed a pin through them to create the holes for the staples. It was somewhat tricky to push the staples through, as the sheets of paper were now very thick, and only a tiny bit of the staple was coming through.


Regardless, I managed to get enough length of the two staples to poke through to press firmly down and hold the pieces together. Job done!
The whole process took me just over 30 minutes. And I was very proud to have made my very own DIY sketchbook with the option of creating more of them when I needed them. Not least because most of my other creative ideas don’t come to fruition. Just like when I tried cutting mounting boards to size. Absolutely impossible (with the wrong tools). But that story is for another time.
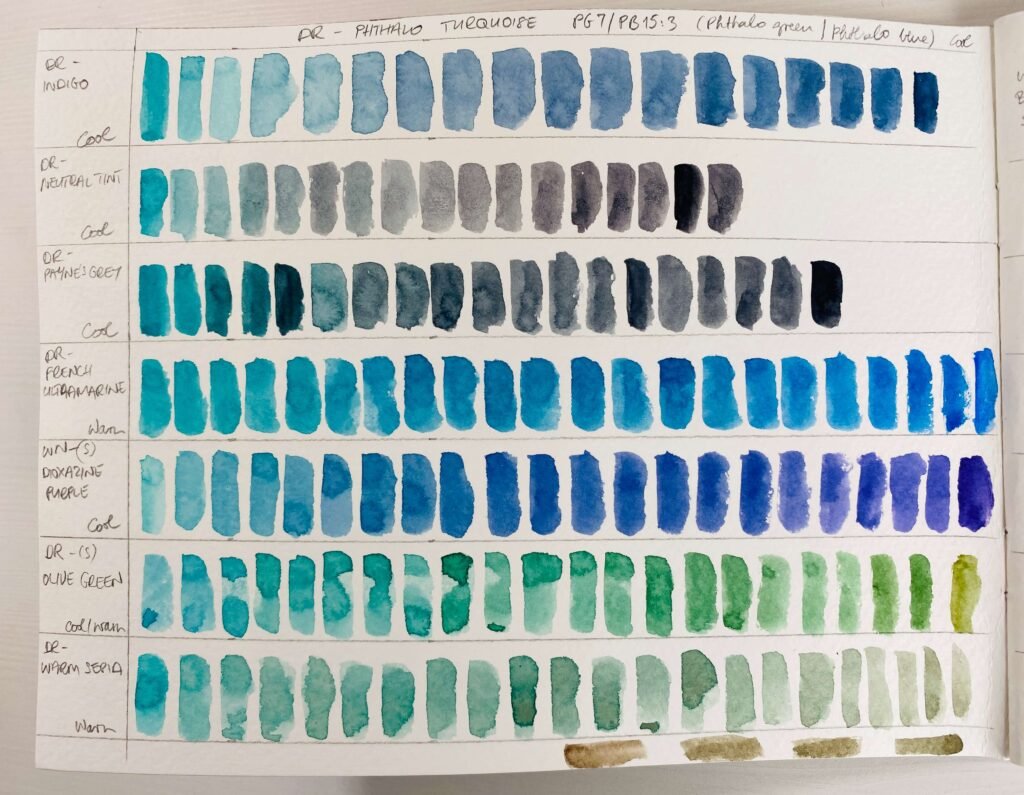
And here it is, being used, with the colour charts:
Making the most of the worst
Being blessed with subpar art materials doesn’t mean they can’t be used for other purposes.
With a bit of thought, research, and creativity we can come up with ingenious solutions to bring out the best in supplies that may lack quality.
At the same time, we don’t necessarily have to spend too long on these projects, but even if we do it’s all part of the creative process.
The growth it can bring alone is worth the effort.